
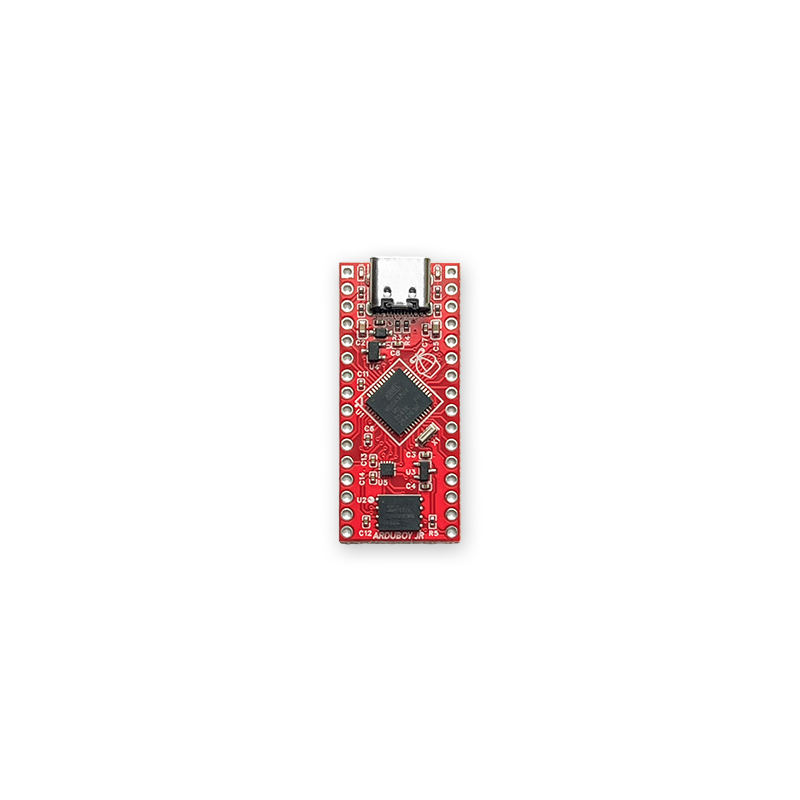
 Image 1 of 2
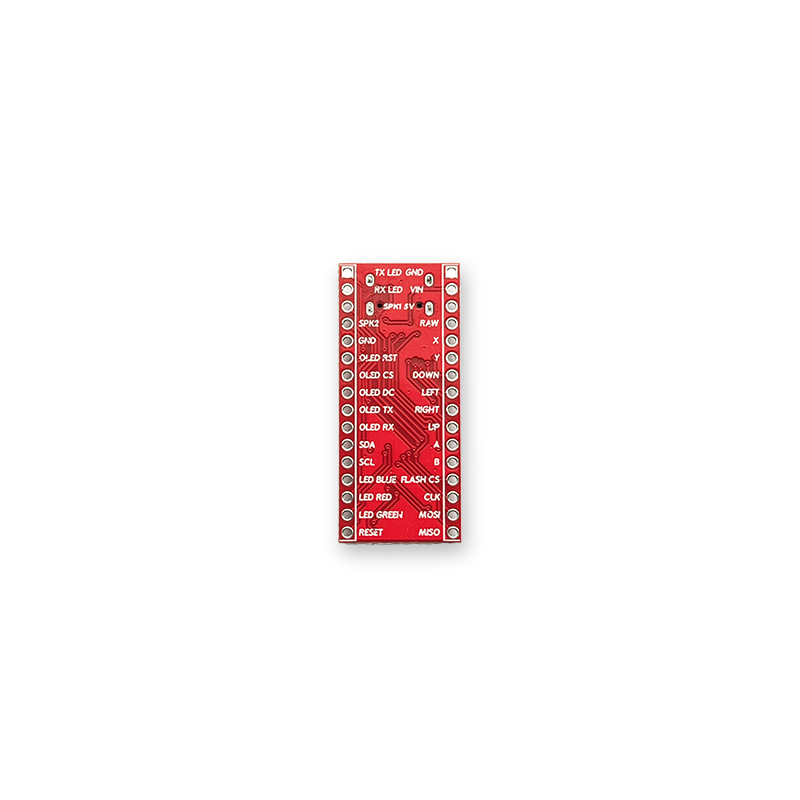 Image 2 of 2
Arduboy on a Stick
Building a DIY Arduboy has traditionally meant starting with an Arduino Pro Micro, programming a compatible bootloader with an external device, adding external flash, wiring level shifting and figuring out how to load the game library.
Arduboy Jr does all of that for you.
The processor and external FX flash are already on the board and pre—programmed. Every ATmega32u4 pin is still available on the headers, so you no longer have to make compromises to your build.
Make your own handheld game console. Put it in an arcade cabinet. Add giant buttons. Make your own controller. Add sensors. Make something completely ridiculous.
It's your Arduboy Jr.

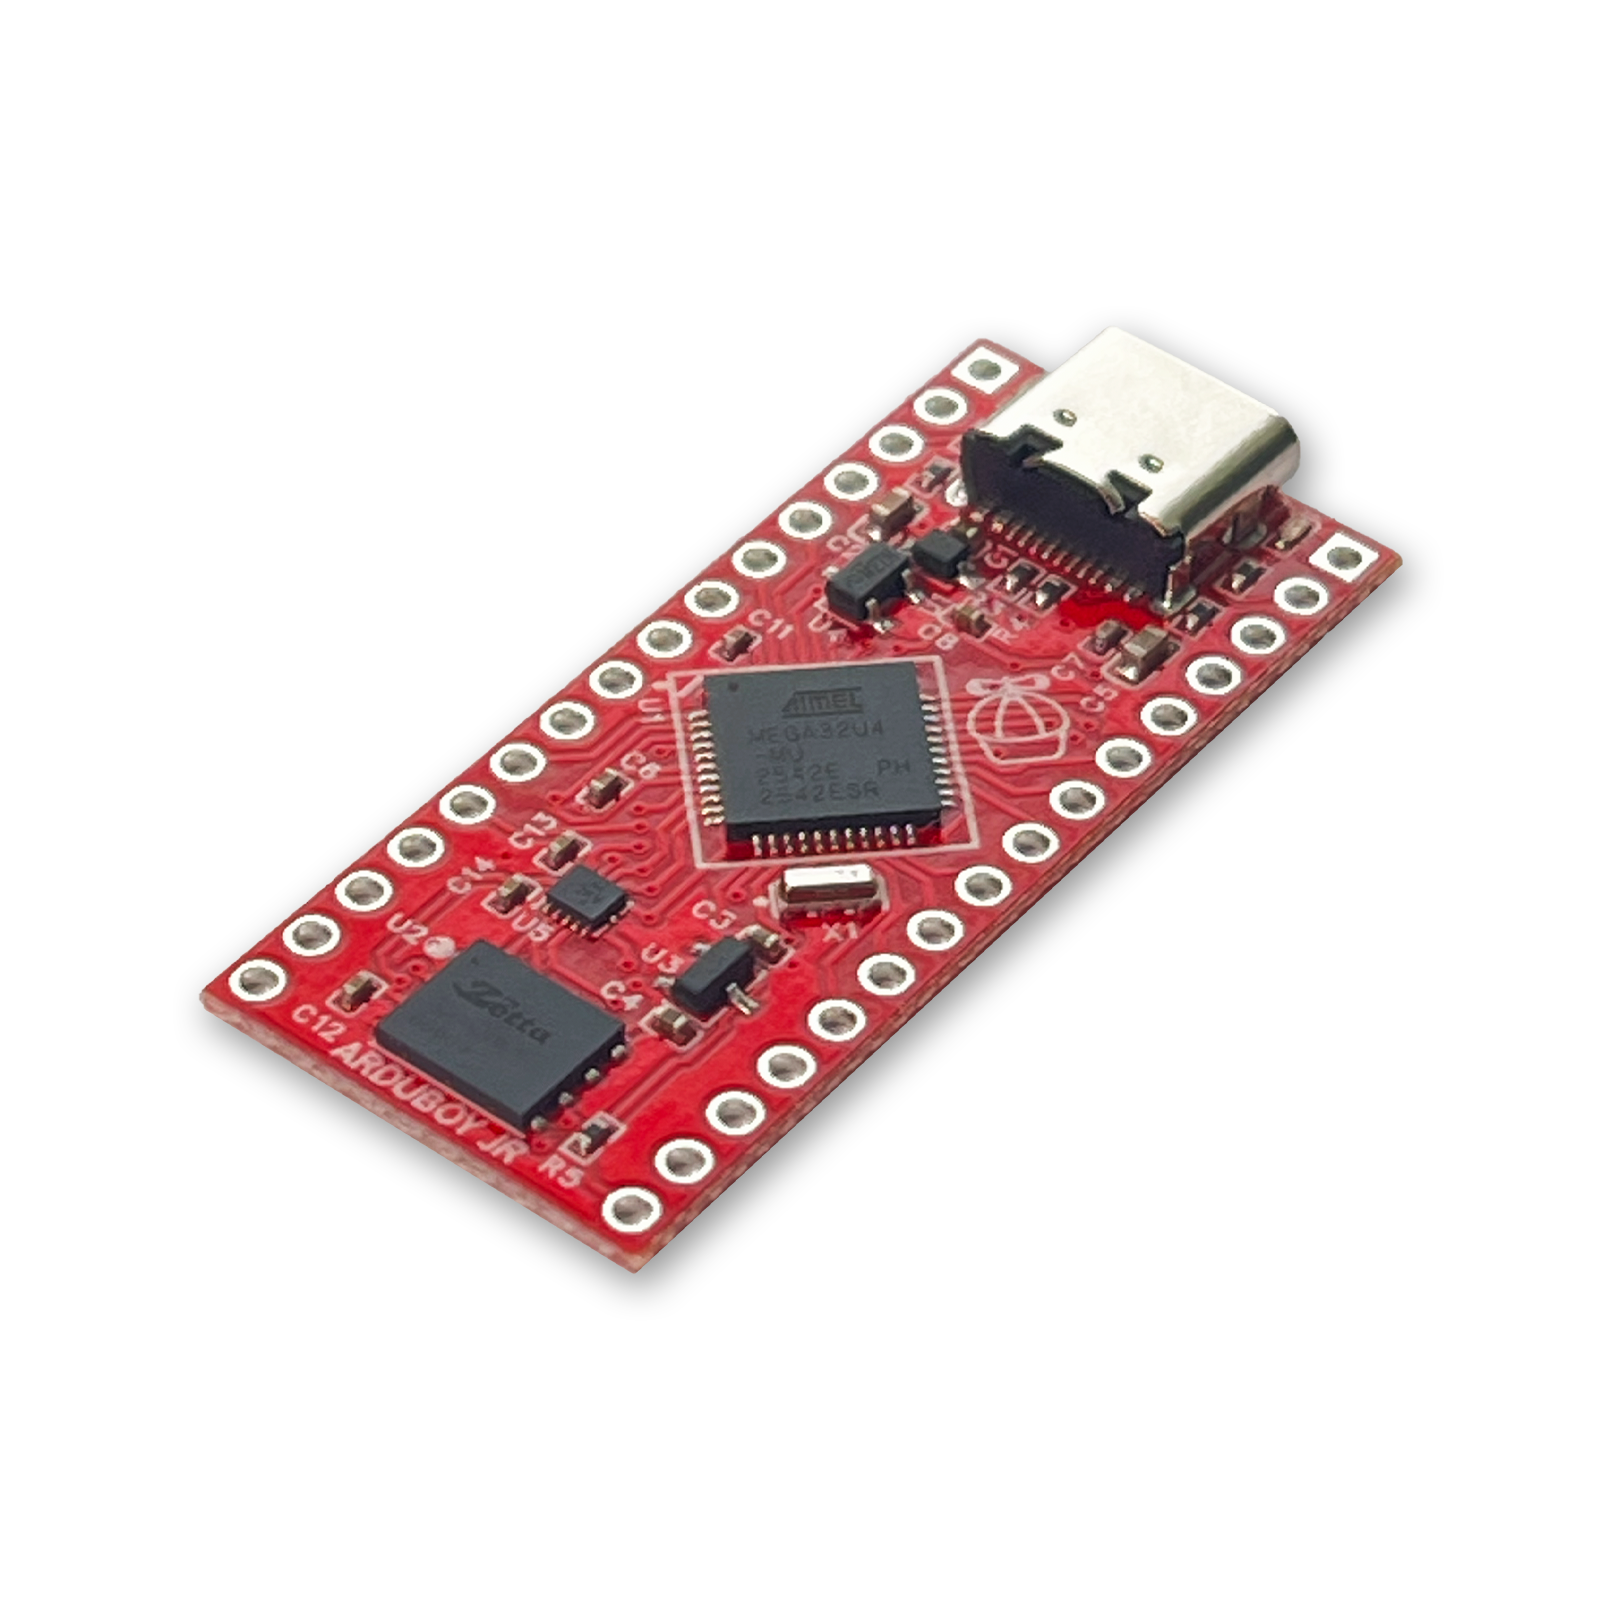
Features
Processor: ATmega32u4 8-bit AVR @ 16MHz
Memory: 32KB Flash, 2.5KB RAM, 1KB EEPROM
Game Storage: 16MB External Serial Flash
Flash Compatibility: Arduboy FX-C compatible external game storage
Game Library: Over 300 Preloaded and ready to play
Bootloader: Cathy3k bootloader pre-installed
GPIO: Every ATmega32u4 GPIO pin broken out
Interfaces: I²C, UART, Analog and Digital I/O
Power: USB or regulated RAW input (20V)
3.3V Flash: Onboard 3.3V regulation and level shifting for the external flash
Programming: Arduino IDE, and Arduboy Cloud development tools
Add the Parts You Want
At its simplest, Arduboy Jr. only needs an Arduboy-compatible 128×64 OLED display and six buttons to become a complete game system. Everything else is optional.
Sound? Add a piezo speaker.
Portable? Add a battery and charger.
LEDs, sensors, controls or other hardware? The GPIO is there.
None of that? Power it from USB and leave it on your breadboard.
Arduboy Jr is intended to provide the standardized Arduboy hardware and software platform while leaving the physical design completely up to you.